
Your home’s heating, ventilation, and air conditioning system is one of the most hardworking and valuable mechanical assets in your property. Operating quietly behind the scenes, it regulates indoor temperatures, controls humidity levels, and filters airborne contaminants every single day. Yet, despite its critical role in keeping your household comfortable, the HVAC system is often one of the most neglected major home appliances—right up until a sudden mid-season breakdown leaves you freezing in winter or sweltering in the summer heat.
Deferring simple, ongoing maintenance forces internal components to work under extreme mechanical strain. Clogged filters restrict airflow, dirty coils trap heat, and unlubricated fan motors draw excessive electrical current. Over time, these small oversights compound into major mechanical failures, spiking your monthly utility bills and cutting equipment lifespans short by up to five years. Replacing a modern heating and cooling unit represents a major financial investment, making proactive equipment preservation one of the smartest financial decisions a homeowner can make.
Extending the life of your HVAC unit does not require an engineering degree or an extensive toolkit. By establishing a consistent maintenance routine that blends simple, hands-on tasks with scheduled professional servicing, you can protect your investment, maintain high energy efficiency, and ensure reliable year-round comfort. This comprehensive guide outlines practical, step-by-step strategies to keep your heating and cooling equipment running smoothly for decades.
Phase 1: Maximizing Airflow and Indoor Filtration Efficiency
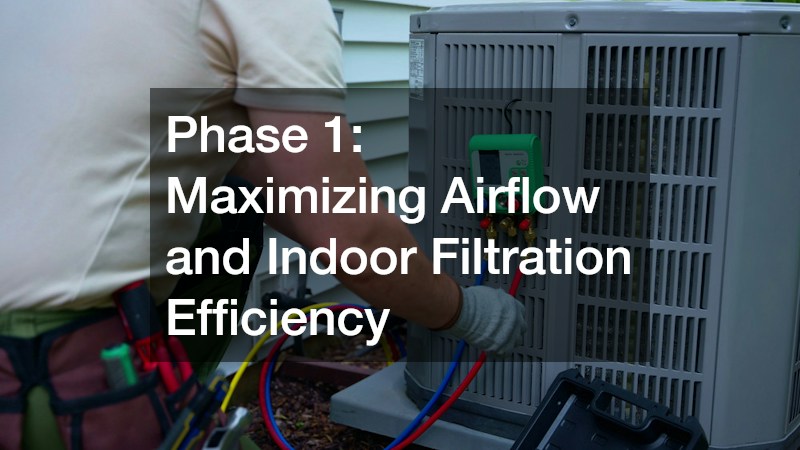
Airflow is the lifeblood of any central heating and cooling system. The volume of air passing across your heat exchanger or cooling coils directly governs thermal transfer, mechanical pressure, and electrical efficiency. Restricting this movement creates immediate strain on your system’s internal drive components.
When air cannot flow freely through your return ducts and air handler, static pressure rises inside the system cabinet. This increased resistance forces the blower motor to draw more amperage, causing internal windings to overheat and fail prematurely. On the cooling side, insufficient airflow prevents heat absorption, causing the evaporator coil temperature to plummet below freezing. This turns airborne moisture into a solid sheet of ice that chokes off air movement entirely and risks sending liquid refrigerant back into the compressor, causing severe damage.
Understanding how to choose and care for your air filtration media is essential for maintaining smooth system operation. While high-density filters catch smaller dust particles, they also create significantly higher resistance to incoming air.
-
Select the Right MERV Rating: Minimum Efficiency Reporting Value (MERV) ratings scale from 1 to 16 for residential homes. Filters rated MERV 8 to 11 offer an ideal balance, trapping pet dander, pollen, and dust mites without over-restricting system airflow.
-
Match Filter Thickness to Cabinet Design: Standard one-inch filter slots require frequent monitoring. If your system features a deep four-inch or five-inch media cabinet, you enjoy superior filtration surface area and longer replacement intervals without sacrificing static pressure.
-
Monitor High-Dust Environments: Homes with multiple pets, ongoing interior remodeling, or nearby road construction generate heavy dust loads that require more frequent filter changes.
Establishing a Consistent Filtration Schedule
Checking your filter once a year during seasonal weather shifts is not enough to protect high-efficiency motors. Creating a strict inspection routine prevents hidden dust buildup from choking off your system’s supply air.
Inspect standard one-inch pleated filters every 30 days during heavy heating and cooling seasons, replacing them whenever the filter surface turns grey or shows a heavy layer of lint. For four-inch media filters, inspect the material every three months and replace it annually, or sooner if airflow drops. Additionally, walk through your home monthly to ensure all supply registers and return air grilles remain unblocked by heavy furniture, floor-length curtains, or thick area rugs.
When managing complex duct systems, airflow balance issues, or persistent static pressure problems, partnering with a full-service heating and air conditioning company ensures your home’s ductwork is sized correctly to support your equipment.
Enlisting trusted local hvac companies for seasonal filter supply deliveries and duct static pressure testing helps identify underlying airflow bottlenecks before elevated resistance destroys your expensive blower motor.
-
Set Calendar Reminders: Mark filter check dates on your phone calendar or write the installation date directly on the cardboard frame of the new filter with a marker to track usage easily.
-
Maintain Register Clearances: Leave a minimum of six inches of open space around all floor, wall, and ceiling return grilles so the air handler draws in fresh air without resistance.
Phase 2: Protecting Outdoor Condenser Units and Exterior Components
The outdoor unit—commonly called the condenser or heat pump package—endures relentless exposure to rain, snow, direct sunlight, lawn debris, and insects. Its primary job is releasing absorbed indoor heat into the outdoor air during summer and extracting ambient heat during winter. Keeping this outdoor assembly clean and unobstructed is vital for long-term reliability.
The outdoor cabinet houses the compressor, electrical contactors, run capacitors, and a copper tubing grid surrounded by thousands of delicate, razor-thin aluminum fins. Air pulled through these fins cools the hot refrigerant gas inside the coil, converting it back into a liquid state.
When dirt, lawn mower grass clippings, fallen autumn leaves, or cottonwood seeds coat the outside of the aluminum fins, they form an insulating blanket. This blanket prevents heat from escaping, causing system operating pressures and compressor temperatures to skyrocket. Operating a compressor under high head pressure for extended periods degrades internal lubrication oils, damages valves, and drastically shortens motor life.
Safe DIY Outdoor Cleaning Procedures
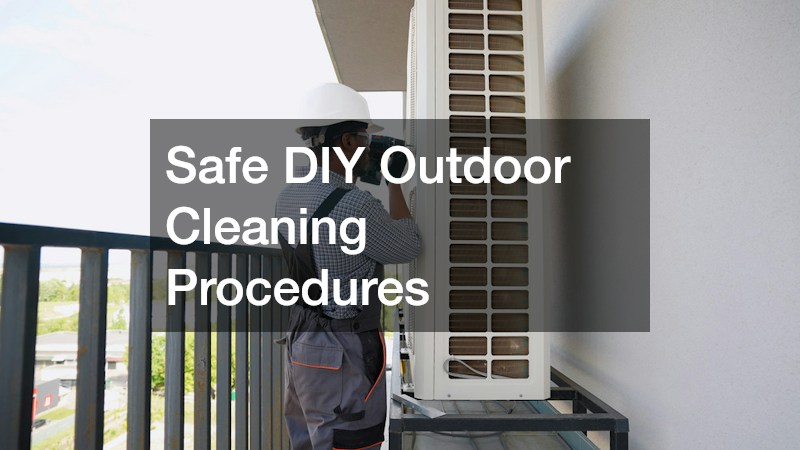
Cleaning your outdoor unit should be part of your regular spring home maintenance routine. Following a careful, step-by-step approach ensures you clear away stubborn dirt without damaging delicate internal parts.
Start by switching off electrical power at the outdoor disconnect box mounted on the exterior wall near the unit. Next, use pruning shears to cut back weeds, tall grass, and overgrown shrubbery, maintaining a clear 24-inch boundary around the entire metal cabinet. Remove the top fan guard screws if leaves, twigs, or pine needles have accumulated inside the bottom of the steel base pan, and carefully lift out the debris by hand.
Rinse the exterior aluminum fins using a standard garden hose equipped with a gentle spray nozzle. Direct the water stream from the inside of the cabinet outward, or spray downward at a 45-degree angle. Never use a high-pressure power washer, as intense water pressure will immediately flatten the delicate aluminum fins, permanently blocking airflow through the coil. If fins are already bent from hail or stray lawn debris, carefully align them using an inexpensive plastic fin comb.
If your outdoor unit shows signs of leaking oil around copper service valves, excessive vibration during startup, or heavy dirt buildup deep inside multi-row coil assemblies, bring in certified ac contractors to handle specialized chemical foaming washes and electrical component testing.
Routine system checks performed by certified HVAC contractors ensure that refrigerant levels meet factory specifications and that electrical components are operating within safe voltage and amperage limits.
-
Clear Winter Snow Accumulation: In cold climates, clear heavy snow drifts, falling roof ice, and windblown debris away from heat pump units to maintain adequate air circulation for winter heating modes.
-
Keep Lawn Mowers Turned Away: Position your lawn mower discharge chute away from the outdoor unit when cutting grass to prevent flying rock chips and wet grass clippings from burying the coil fins.
Phase 3: Safeguarding Furnace and Heating Element Operations
While cooling systems demand attention during hot summer months, winter heating systems require careful inspection to operate safely and reliably. Gas-fired furnaces, electric heating banks, and boiler systems feature safety controls designed to prevent fuel buildup, electrical fires, and carbon monoxide leaks.
Gas furnaces generate heat by burning natural gas or propane inside a sealed metal chamber called a heat exchanger. Draft inducer fans pull exhaust gases through the heat exchanger and vent them safely outside your home through flue pipes. Over months of operation, microscopic dust particles and combustion byproducts accumulate on key burner parts.
-
Flame Sensors: This small, metallic rod sits directly in the burner flame path. When coated with invisible carbon oxidation, it fails to sense the flame, causing the furnace control board to shut off gas flow after just a few seconds of operation.
-
Burner Assemblies: Clogged burner ports cause uneven, yellow combustion flames instead of crisp, blue flames. Poor combustion wastes fuel, creates soot deposits, and raises internal heat exchanger temperatures.
-
Hot Surface Igniters: These delicate ceramic elements glow red-hot to ignite incoming gas. They are sensitive to oil from human fingers and mechanical vibration, making gentle visual inspections essential.
A cracked heat exchanger is one of the most serious hazards in residential HVAC operation, as it allows lethal carbon monoxide gas to leak directly into your supply ductwork. Overheating caused by restricted airflow or rusted metal components is the leading cause of heat exchanger cracks.
Working with experienced heating contractors ensures that burner assemblies are calibrated correctly, draft fan pressures are verified, and heat exchangers undergo thorough visual and electronic testing every autumn.
Addressing minor ignition delays, unusual popping sounds, or short-cycling issues immediately by scheduling professional furnace repairs protects your household from carbon monoxide risks and prevents total system failure during freezing weather.
-
Clean the Flame Sensor Annually: Shut off electrical power to the furnace, slide out the single-screw flame sensor, and gently rub the metal rod with a piece of fine emery cloth or dry steel wool to remove clear oxidation buildup.
-
Test Carbon Monoxide Alarms Monthly: Place digital carbon monoxide alarms on every level of your home, especially near bedrooms, and test their batteries monthly before firing up the furnace for winter.
Phase 4: Optimizing Drainage, Duct Integrity, and Thermostat Precision
An HVAC system is more than just a heating cabinet and an outdoor compressor; it is an interconnected system relying on clean condensate drains, sealed distribution ducts, and accurate electronic controls to run efficiently.
During summer cooling, your evaporator coil acts as a powerful dehumidifier, wringing gallons of water out of humid indoor air every day. This moisture drains into a plastic catch pan beneath the coil and flows out of your home through a PVC condensate pipe.
Indoor air contains floating dust, mold spores, and micro-particles that settle into the wet condensate pan, forming a thick, gelatinous algae sludge. If this sludge blocks the narrow PVC drain line, water backs up into the drain pan, overflowing onto surrounding ceilings, finished drywall, or hardwood floors.
To prevent messy drain backups, locate the open vertical PVC access tee on your indoor condensate line and pour one cup of plain white vinegar down the line every month during active cooling seasons. The mild acid destroys organic algae mats and keeps water flowing freely. If the line becomes clogged, use a wet/dry shop vacuum attached to the exterior exit pipe to suck out the blockage.
Leaky, unsealed ductwork can waste up to 30% of your conditioned air before it ever reaches your living spaces. When ducts run through unconditioned attics, crawlspaces, or basements, air leaks force your system to run longer to satisfy the thermostat, significantly increasing monthly energy bills.
Inspect accessible duct runs in basements and utility closets for loose joints or disconnected sections. Seal all metal-to-metal duct seams using painted-on mastic sealant or heavy-duty aluminum foil tape. Never use standard cloth duct tape, as its rubber adhesive dries out, becomes brittle, and fails after exposure to seasonal temperature shifts.
Outdated manual thermostats with aging mercury switches or uncalibrated bimetallic coils often misread room temperatures, causing erratic equipment cycling. Modern programmable or smart thermostats give you precise control over operating schedules, allowing you to set temperature setbacks when you are away from home.
Investing in preventive tune-ups through complete HVAC services allows technicians to check blower wheel balance, inspect electrical relays, test system capacitors, and confirm that your thermostat is sending accurate signals to control boards.
Learning how to clear minor condensate clogs yourself helps prevent water damage emergencies, saving you from needing expensive emergency heating repairs during busy holiday weekends or severe weather events.
-
Install an Emergency Float Switch: Have a technician install an inexpensive secondary float switch inside your indoor drain pan that automatically cuts power to the AC unit if water rises, preventing ceiling overflows.
-
Replace Thermostat Batteries Annually: Change the backup batteries in your programmable thermostat every autumn so lost power does not wipe out your custom heating and cooling schedules.
Phase 5: Specialized Zoning Equipment and Long-Term Replacement Planning
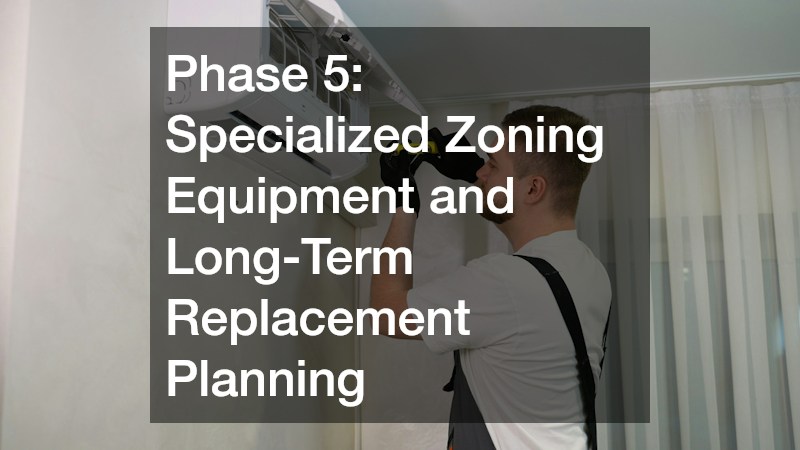
As home designs evolve, many properties utilize supplemental heating and cooling equipment alongside standard central systems. Understanding how to care for these specialized setups ensures that every zone in your home stays comfortable year-round.
Ductless mini-split heat pumps have become extremely popular for room additions, sunrooms, converted garages, and older homes without existing ductwork. These systems use compact indoor air handlers mounted high on walls, connected by thin copper lines to an outdoor compressor.
While mini-split systems are exceptionally efficient, their compact indoor units feature smaller, high-density components that require frequent cleaning to maintain performance.
Lift the front plastic cover on your indoor mini-split units every two to four weeks during heavy use to remove the mesh air filters. Vacuum off loose dust, rinse the filters thoroughly in a sink with warm water, and allow them to air-dry completely before snapping them back into place. Additionally, inspect the small interior blower wheel using a flashlight; if dust coats the delicate fan blades, schedule a professional deep-cleaning using a specialized collection bag and pressurized water spray.
Managing Retrofits and Long-Term System Replacement
Even with meticulous maintenance, every mechanical system eventually reaches the end of its operational lifespan. Standard residential furnaces and air conditioners typically last between 12 and 15 years, while heat pumps operating year-round in extreme climates may show significant wear after 10 to 12 years.
Knowing when to transition from ongoing repairs to a full system upgrade saves money in the long run. If your equipment is over 12 years old, requires frequent repairs, uses phased-out refrigerants, or causes rising utility bills, continuing to patch up major mechanical failures becomes financially impractical.
When adding climate control to a newly built room, sunroom, or finished attic, scheduling a professional mini split installation gives you targeted comfort without overloading your main central furnace and air conditioner.
When the time comes to replace an aging system entirely, investing in a high-efficiency hvac installation gives you access to modern variable-speed compressors, quiet ECM blower motors, and advanced indoor air quality controls that significantly reduce long-term operating costs.
-
Document All Servicing Steps: Keep a dedicated binder or digital folder with all DIY maintenance notes, filter purchases, and professional service invoices to maintain manufacturer warranty coverage and increase home resale value.
-
Listen for New Equipment Noises: Pay attention to unusual sounds like squealing belts, grinding bearings, rattling cabinet panels, or persistent clicking; catching mechanical wear early prevents catastrophic system failures.
Annual HVAC Maintenance Checklist
Use this quick-reference guide to keep your heating and cooling systems in top shape throughout the year:
-
Turn off electrical power to the outdoor unit at the disconnect box.
-
Clear leaves, dead grass, and winter debris from inside the outdoor base pan.
-
Trim back shrubs and vines to maintain a 24-inch clear space around the outdoor condenser.
-
Gently rinse the outdoor aluminum coil fins using a garden hose at a downward angle.
-
Inspect and replace the indoor air filter (MERV 8 to 11 recommended).
-
Pour one cup of plain white vinegar down the indoor condensate drain access tee.
-
Inspect visible ductwork in accessible spaces for unsealed joints or damaged insulation.
-
Test the air conditioner by running it through a complete cooling cycle before hot weather arrives.
Autumn Maintenance (Heating Season Prep)
-
Inspect and replace the indoor air filter.
-
Vacuum dust and pet hair out of the furnace burner compartment and blower housing.
-
Remove and gently clean the furnace flame sensor with fine emery cloth or dry steel wool.
-
Inspect the furnace flue pipe for rust holes, loose joint connections, or bird nest blockages.
-
Test all carbon monoxide and smoke alarms throughout the home, replacing batteries as needed.
-
Open and clear all indoor supply registers and return air grilles.
-
Test your thermostat settings by running the system through a full heating cycle before the first cold snap.
-
Remove, rinse, and air-dry washable mesh filters on ductless mini-split units.
Extending the lifespan of your home’s HVAC system does not require complicated repairs or expensive diagnostic equipment. By taking a proactive, preventative approach—replacing air filters regularly, keeping outdoor coils clean, clearing condensate drain lines, and keeping supply registers open—you can significantly reduce mechanical strain on your heating and cooling equipment.
A well-maintained HVAC system consumes less electricity, delivers cleaner indoor air, operates more quietly, and protects your family from unexpected breakdowns during seasonal weather extremes. Pair your monthly DIY maintenance habits with annual inspections from certified heating and cooling professionals to ensure your system stays reliable, efficient, and comfortable for years to come.
Take a few minutes today to check your air filter, inspect your outdoor condenser unit, and set calendar reminders for your upcoming seasonal tune-ups. A small investment of time now will pay off in years of reliable home comfort and lower energy bills.